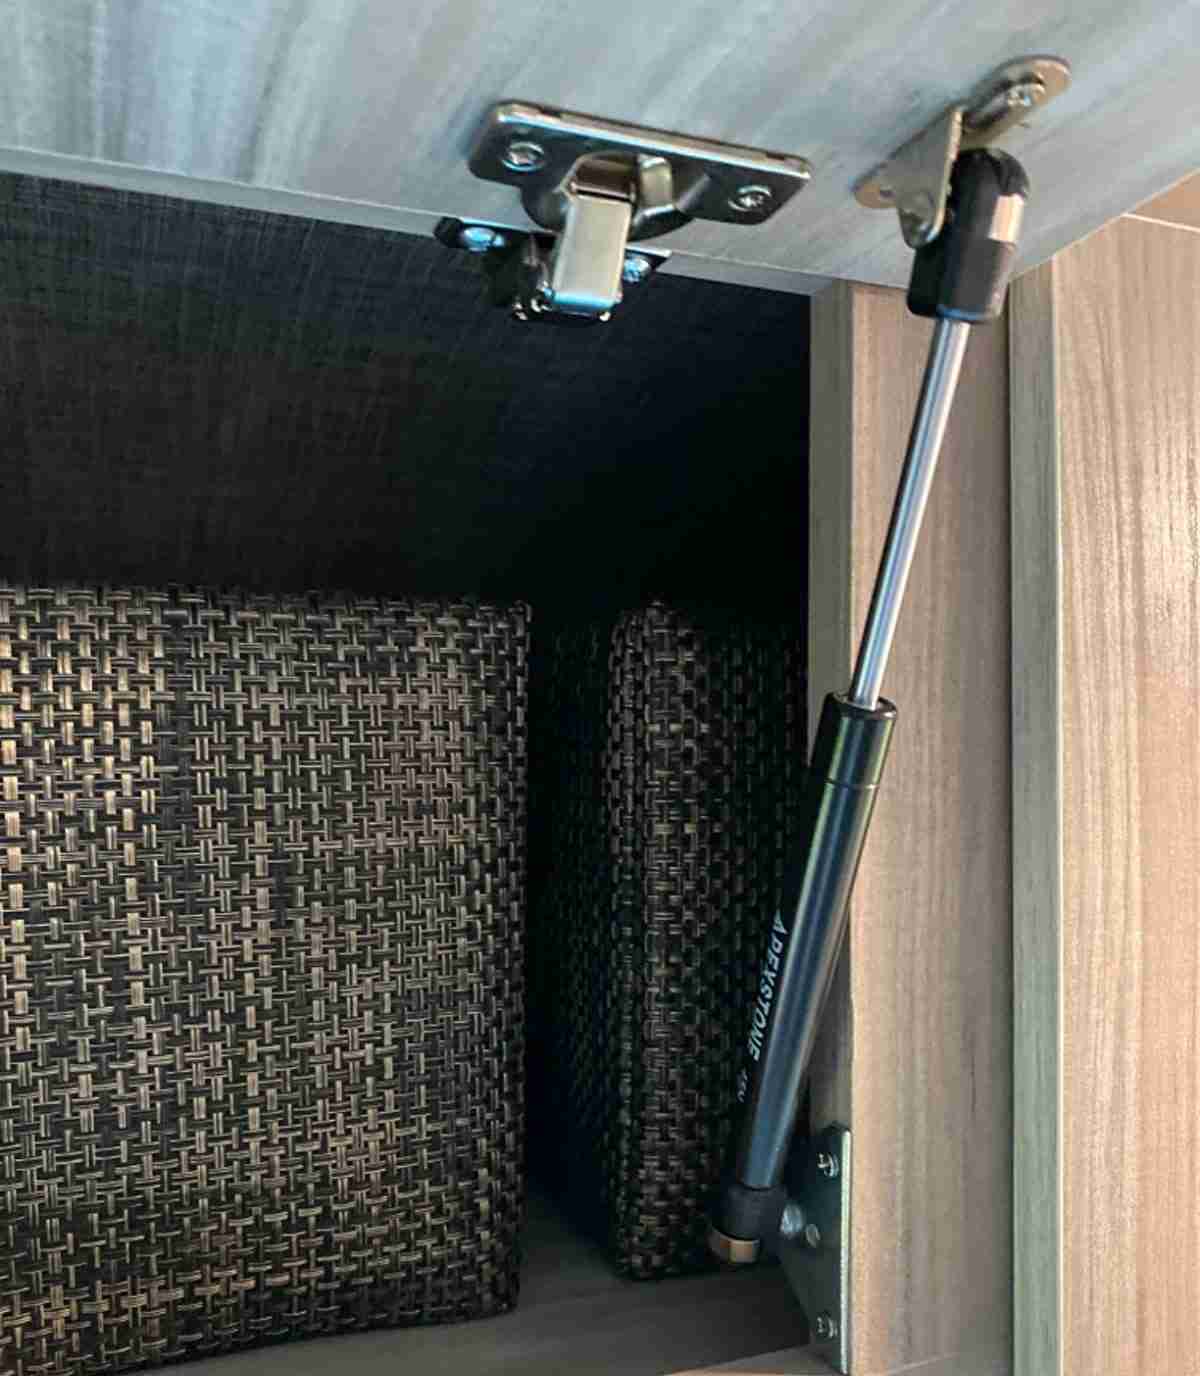
How to Install Soft-Close Gas Struts: A Step-by-Step Guide
Soft-close gas struts help control the closing motion of lids, covers, and hinged panels, preventing sudden slamming and making them safer and easier to use.

Do you have a boat with a storage compartment or hatch? Installing gas struts can make your hatch easier to open and help keep it securely open while you access the storage space.
Whether you are installing gas struts for the first time or replacing old lift supports, choosing the right gas spring and positioning the mounting brackets correctly are essential for smooth and reliable operation.
In this guide, we’ll show you how to choose the right boat hatch gas strut, determine the mounting points, install the gas springs, and test the hatch after installation.
Before installing a gas strut, you need to determine the correct force, length, and stroke for your hatch.
The required gas spring depends on several factors, including:
The hatch material also matters. Composite, plywood, and hollow-core hatches can have very different weights.
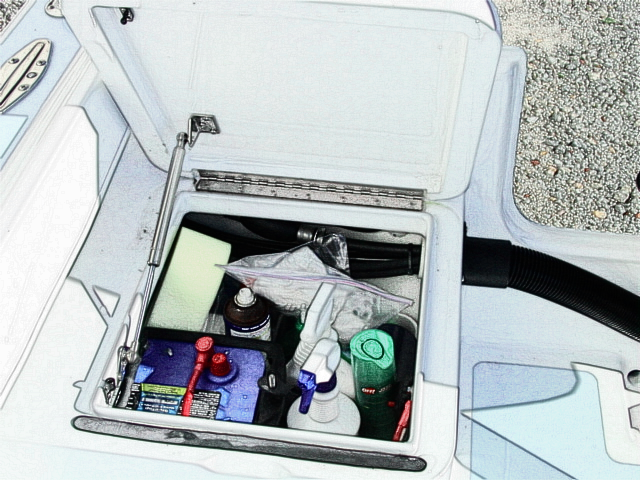
Gas strut force is usually measured in Newtons (N). For reference, 100N is approximately 22.5 lb of force.
A pair of 100N gas struts may be a suitable starting point for some lightweight boat hatches, but there is no universal force rating that works for every hatch. The correct force depends on the hatch weight and, importantly, the mounting geometry.
For a more accurate recommendation, measure your hatch and use a gas spring calculator to estimate the required force.
Tip: If you are replacing existing gas struts, check the force rating, extended length, compressed length, and end fittings of the original struts before ordering replacements.
Once you have selected the appropriate gas spring, the next step is to determine where the mounting brackets should be installed.
Correct mounting geometry is just as important as choosing the right gas strut. Incorrect positioning can make the hatch difficult to open, prevent it from closing completely, or cause the gas spring to bind.
First, open the hatch to the angle at which you want it to stay open.
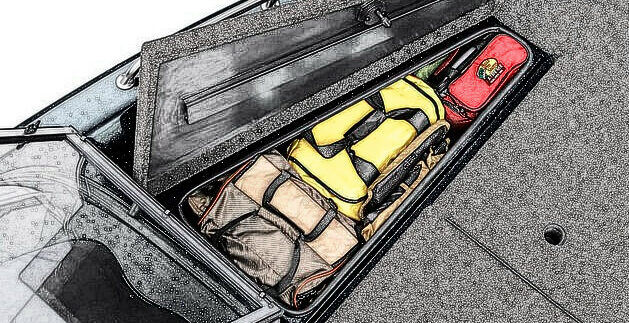
Then determine a suitable location for the upper mounting bracket on the hatch.
As a general starting point, the distance from the hinge to the upper mounting point can be around 25% to 30% of the gas spring’s extended center-to-center length.
For example, if the gas strut has an extended center-to-center length of approximately 10 inches, the initial upper mounting point may be around 2.5–3 inches from the hinge.
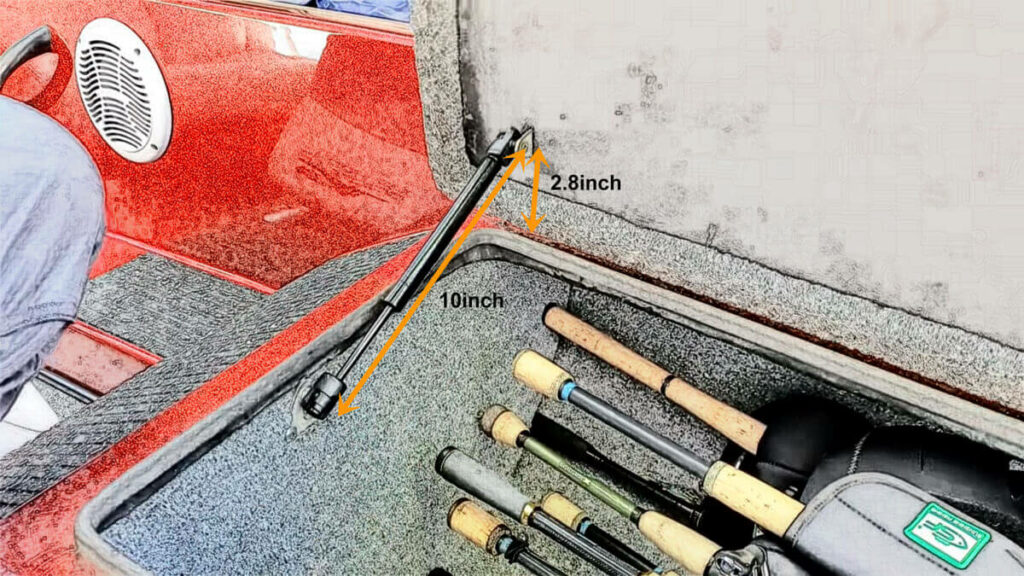
This is only a starting point. Before drilling, you should always verify the mounting position against the gas spring’s compressed length, extended length, and the desired opening angle.
After determining the upper mounting point, identify a suitable location for the lower bracket on the hatch frame or supporting structure.
The most important check is the distance between the two mounting points when the hatch is fully closed.
Measure the center-to-center distance between the upper and lower mounting points and compare it with the gas spring’s compressed length.
The mounting geometry must allow the gas spring to reach the closed position without bottoming out.
For example, if a 15-inch gas strut has a compressed center-to-center length of approximately 9.06 inches, the mounting points must be positioned so that the gas spring can compress to the required length when the hatch is closed.
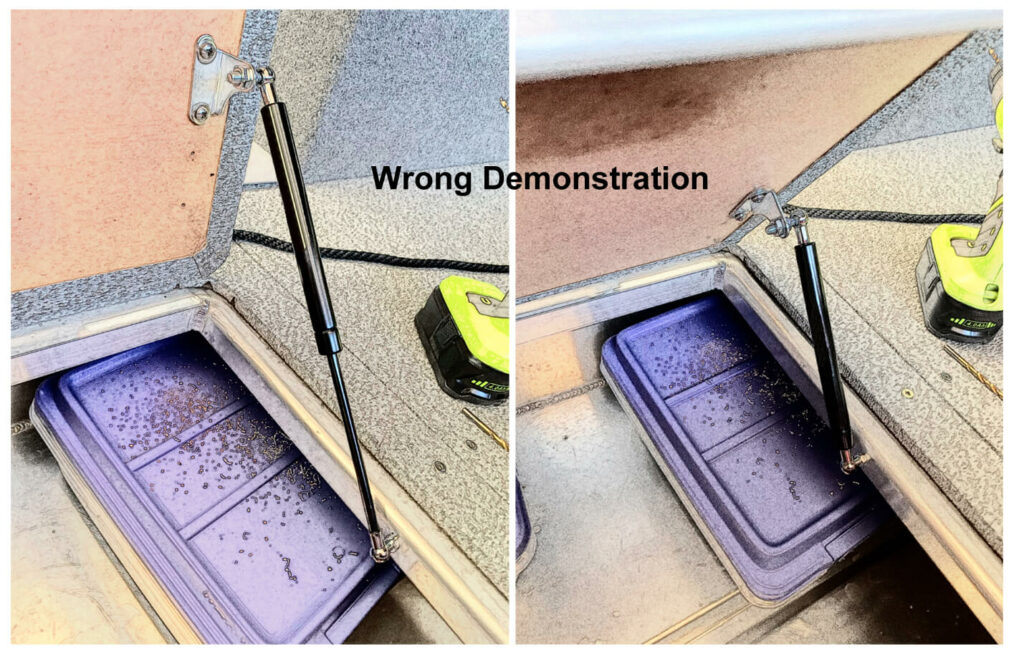
Before drilling, manually move the hatch through its complete range of motion and check that:
Important: Do not drill the mounting holes until you have checked both the fully open and fully closed positions.
After confirming the mounting locations, you can install the brackets and gas springs.
Position the brackets at the marked mounting points.
Depending on your gas strut kit design, you will normally install one bracket on the hatch and the other on the hatch frame.
Secure the brackets firmly using the supplied screws or appropriate fasteners.
Make sure the mounting surface is strong enough to support the gas spring. If the hatch or frame is made of thin material, you may need additional reinforcement.
Align the gas spring end fittings with the ball studs on the mounting brackets.
Whenever possible, install the gas spring with the piston rod pointing downward when the hatch is closed. This orientation can help maintain lubrication around the internal rod seal and support proper damping performance.
Press the end fitting onto the ball stud until it securely engages. Depending on the fitting design, you should hear or feel a click when it is properly attached.
If your hatch uses two gas struts, repeat the same process on the opposite side.
For best results, position the two gas springs as symmetrically as practical so that the lifting force is distributed evenly across the hatch.
After installation, carefully test the hatch several times before using it normally.
Slowly open and close the hatch and check whether:
A properly selected gas spring should assist the opening motion without making the hatch excessively difficult to close.
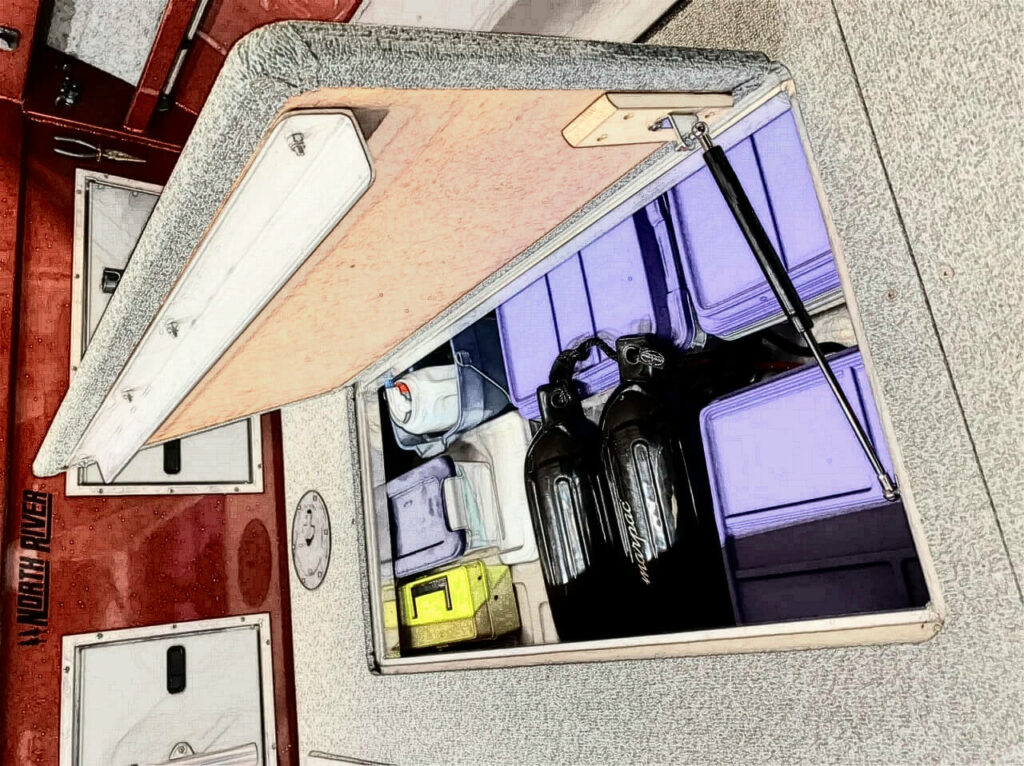
First, check the mounting geometry and make sure the gas springs are installed correctly.
If the mounting points are correct but the hatch still cannot stay open, you may need a higher-force gas spring.
Do not simply add additional gas springs without considering the hatch structure and mounting geometry. Adding another gas spring changes the load distribution and may put additional stress on the hatch and mounting brackets.
If the hatch requires excessive force to close, the gas springs may be too strong for the application.
First, check the gas spring force rating and mounting geometry. If necessary, select a lower-force gas spring that is better matched to the hatch.
Changing the mounting position can also change the leverage of the gas spring, but always verify the new position to ensure that the gas spring does not bind or reach the end of its stroke.
A hatch may not close completely if the mounting points are too close together, the gas spring is too long, or the gas spring reaches its mechanical limit before the hatch closes.
Check the compressed length of the gas spring and the center-to-center distance between the mounting points with the hatch fully closed.
If the hatch falls instead of staying open, the gas springs may not provide enough lifting assistance. Check the force rating and mounting geometry first.
If the installation is correct, consider replacing the gas springs with a higher-force model.
The gas springs may have too much force for the hatch. Check the force rating and consider using a lower-force gas spring.
Incorrect mounting geometry can also increase the closing force, so verify the bracket positions before replacing the gas springs.
Many larger boat hatches use two gas struts, one on each side, to distribute the lifting force more evenly. Smaller or lighter hatches may require a different configuration.
The correct number depends on the hatch weight, size, mounting geometry, and required lifting force.
Gas struts can generate significant force, so take a few precautions during installation and testing:
Installing boat hatch gas struts is relatively straightforward when you choose the correct gas spring and carefully plan the mounting locations.
Start by determining the required force and gas spring dimensions. Then position the upper and lower mounting points while checking both the fully open and fully closed positions. After securely installing the brackets and gas springs, test the hatch several times to make sure it opens, stays open, and closes smoothly.
If you need help selecting the right gas spring for your boat hatch, use our gas spring calculator or explore Apexstone gas struts for suitable options.