Blog
How To Find Lift Supports By Size
Are you looking for lift support struts or replacements for the old lift support hardware? No matter finding lift supports by size or by application
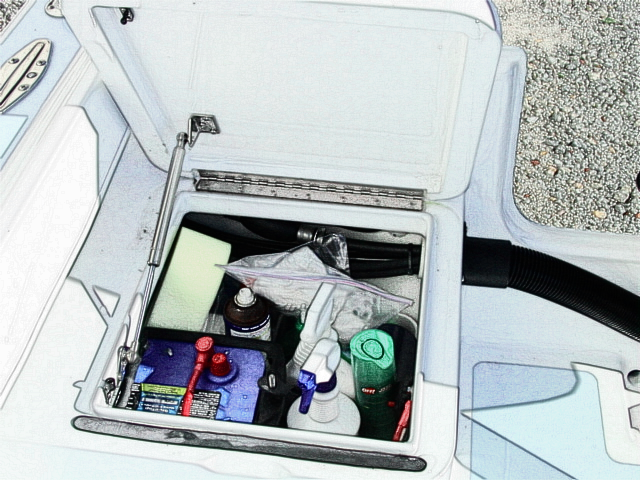
Do you have a boat with storage space? Do you need a way to keep your boat hatch open while accessing your storage without worrying about it slamming shut on your head, finger, and even toes? Whether you want to add new support shocks or replace old ones, installing lift supports is the solution you need. Lift struts are designed to hold lids open, providing easy access and preventing accidents. However, some engineering knowledge will be required for proper installation.
To avoid complex calculations and simplify installation. In this guide, we’ll walk you through the easiest installation process. We will show you how to choose the right size, measure the installation points, and complete the installation. Ready to learn more? Read on for all the details.
Before figuring out the size, you must consider what you want the gas spring to do. Do you want it to provide lift and counterbalance the weight of the hatch to make it easier to open and hold it in place? Or do you want it to keep the hatch open, use a catch to hold it, and slow down its closing speed?
Additionally, you need to gather some measurements for your project, including the weight of the hatch and the distance from the hinge to the front of the door. Consider factors like thickness and material (hollow core, composite, or ply). Then, use a gas strut calculator to determine the right lift support size.
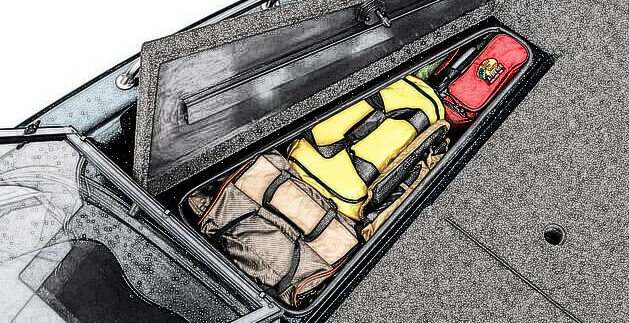
If you want to avoid measurements and make the process easier, here’s a simple, though less accurate, method: For most hatch lids (except for a huge hatch lid), a pair of 20 lb gas struts should work. Use a 10″ strut for the livewell and a 15″ strut for the front hatch.
Once you have purchased the correct size gas struts, it’s time to install them. The installation process involves two steps: determining the mounting points, and installing the lift supports.
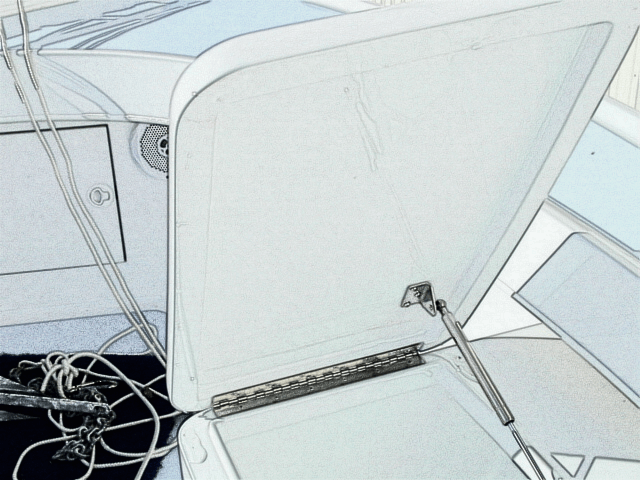
To properly locate upper mounting points:
a) Open the hatch lid to the desired angle.
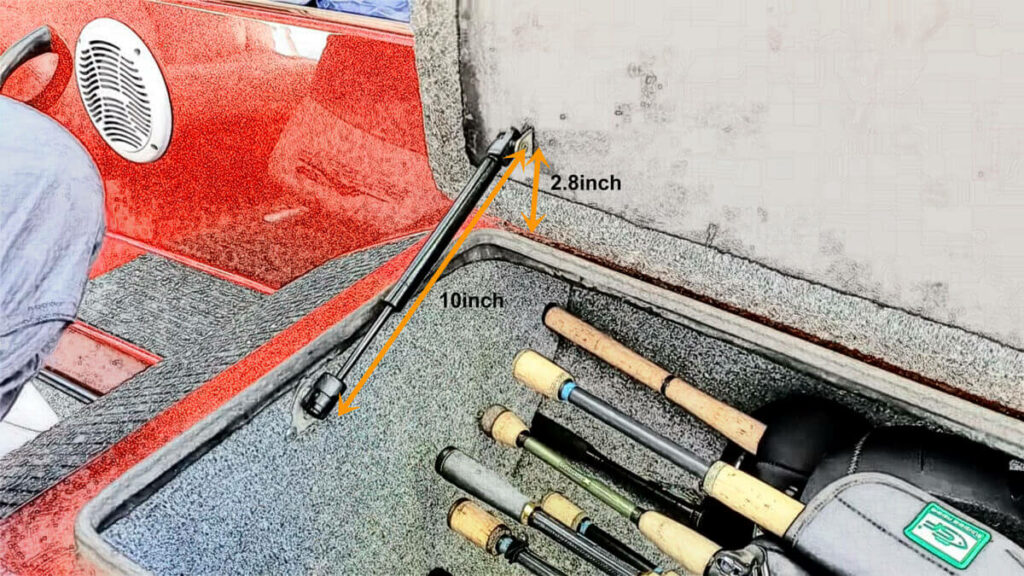
b) Measure the distance from the hinge to the upper mounting point. This distance should be 25% to 30% of the gas spring’s extended length (measured from center to center).
For example, if you are using 10″ (100N) gas struts, the recommended distance from the hinge to the upper mounting point is approximately 2.8 inches. This ensures optimal performance of the gas spring.
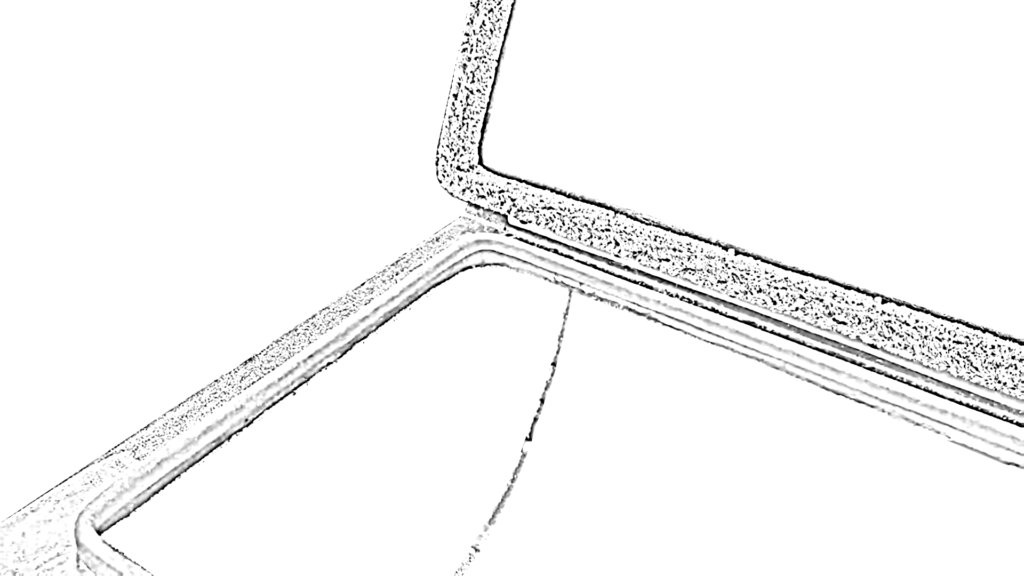
Once you’ve determined the top mounting point, fully extend the gas shock to find the furthest point for the bottom mounting point. To ensure a smooth close, you should not have the mounts positioned on/near the same spot when closed. In the below picture, we use 15 inch gas struts, and the compressed length is 9.06 inch, then, you need the lower mounts to be 9.06″ apart top point on the hatch rim when the door is closed. If not, then you will find it unable to close the hatch door.

Mark those correct mounting points with a pencil. Remember, relatively vertical installation would be recommended.
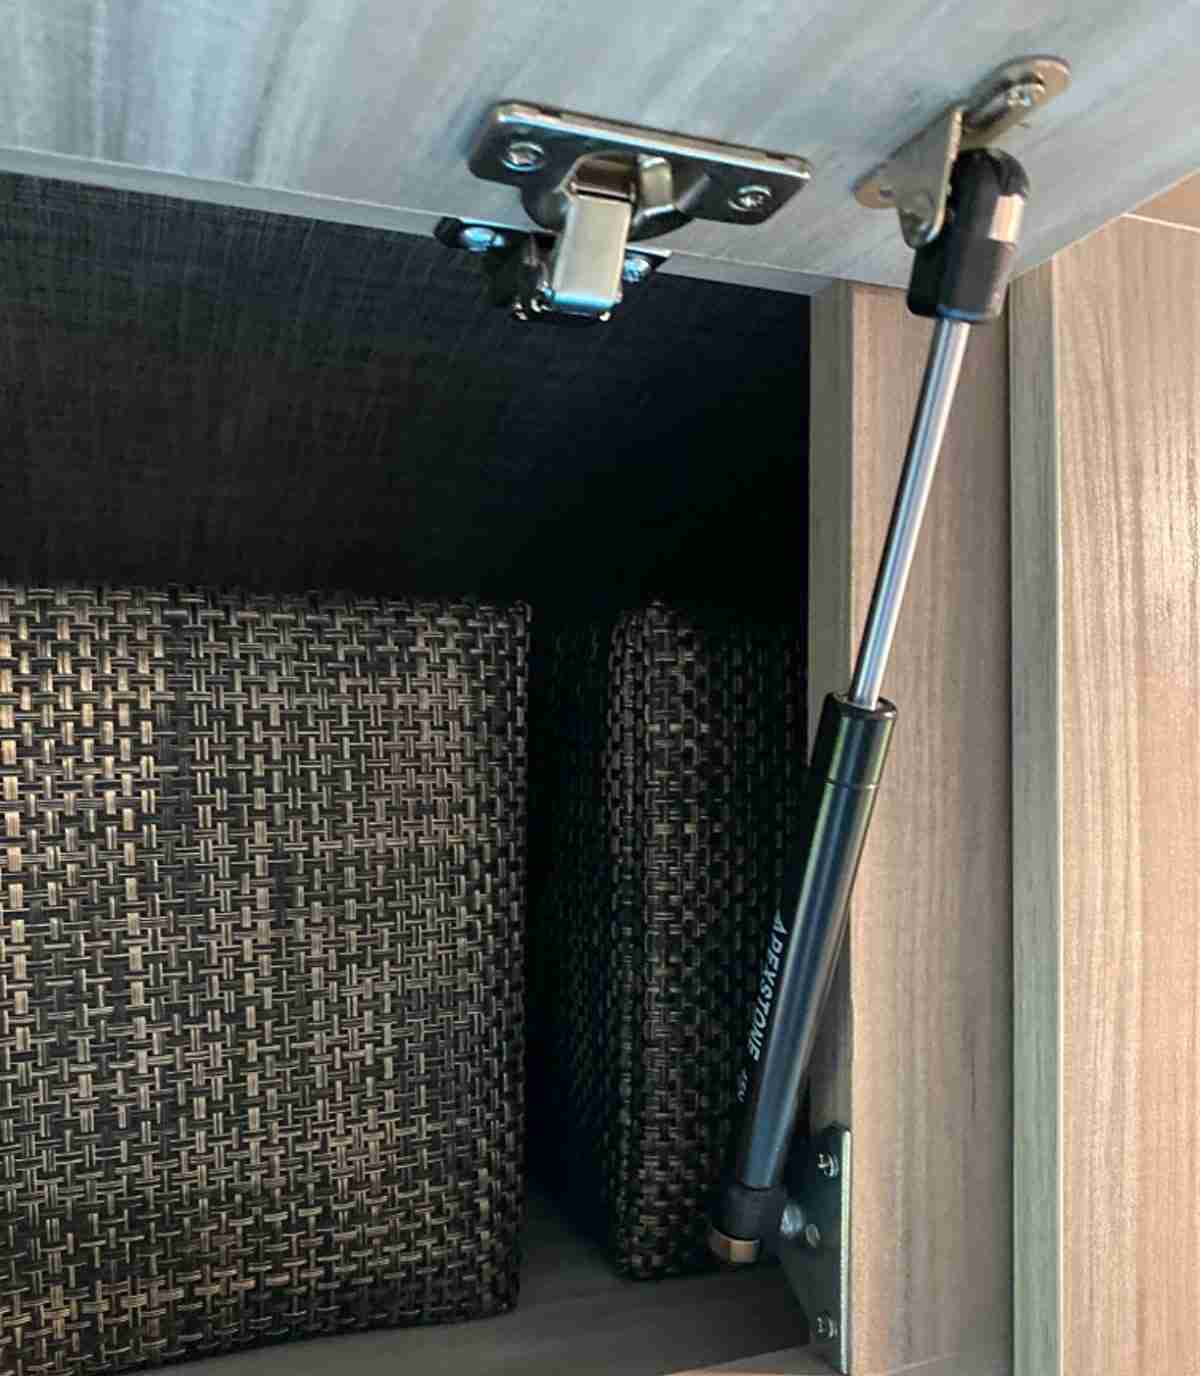
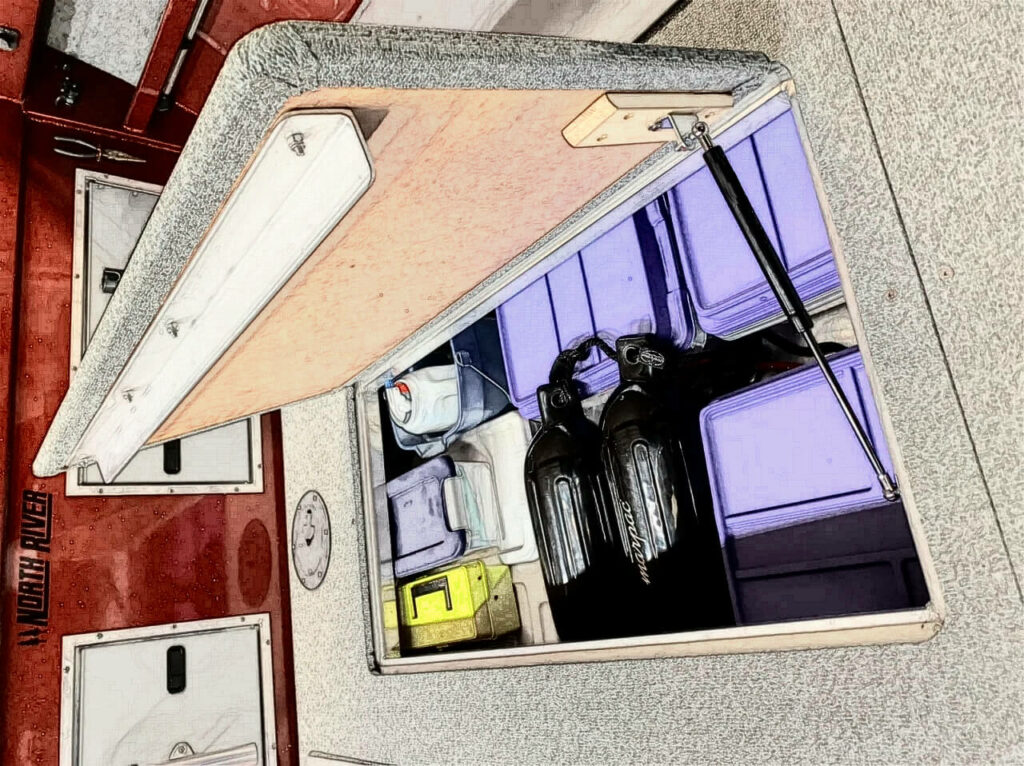
Once you’ve determined the mounting points, it’s time to install the gas struts. Take out the brackets and self-tapping screws that came with the lift support shocks.
a). Attach the round bracket at the bottom mounting point and attach the rectangular bracket at the top mounting point.
b). Secure both brackets with the screws.
c). Ensure the rod end faces downward and align the end fitting hole with the ball stud. Pointing the metal rod downwards has several advantages, such as lubricating internal components, extending the struts’ lifespan, and providing damping when at the stroke end.
d). Slightly press the end fitting to connect it until you hear a “click” sound.
Now you have complete installation for a single gas strut. Repeat the installation on the opposite side.
The final step is testing and adjusting.
In this part, you can perform simple tests by repeatedly opening and closing the lid to check if adjustments are needed. This method is straightforward. After ensuring the gas strut is firmly installed, push the door panel to close it. When you manually open it to a certain height, the lid should automatically rise and stay open without support. If it does, you’ve succeeded. If not, follow these adjustment steps.
For adjustments, determine if you need more or less pressure first. As mentioned, a pair of 100N gas struts usually supports standard hatch covers well. If they are too strong to compress, try using a single gas strut. If they are too weak to hold the hatch lid properly, consider adding a third gas strut in the center with the rod facing downward. If you don’t have an extra gas strut, adjusting the installation to a more vertical position could also help.
After making adjustments, always test the lid by opening and closing it to ensure it works correctly.
Are you looking for lift support struts or replacements for the old lift support hardware? No matter finding lift supports by size or by application
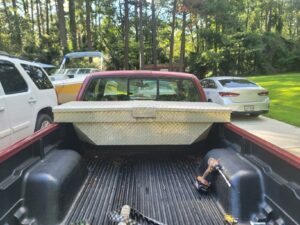
Are you planning to replace the gas struts on your truck toolbox, either by upgrading the toolbox or replacing worn-out struts? Whether you’re getting it